Fast-growing, fresh-tasting, and lovers of cool weather, salad greens are among the first vegetables planted in spring. With frilly, flashy textures and a range of colors, salad plants are also a visual delight.
Plants like lettuce are so easy, in fact, they’re one of the first crops we recommend for beginning gardeners. And their shallow roots and relatively compact size mean they grow equally well in containers as in the ground.
1. Choose your site.
You can grow a salad garden in the ground (full to part sun) or containers. If you plan to grow in containers, make sure they have drainage holes (or choose a self-watering container).
2. Pick your mix.
Some of our favorite plants for the salad garden are:
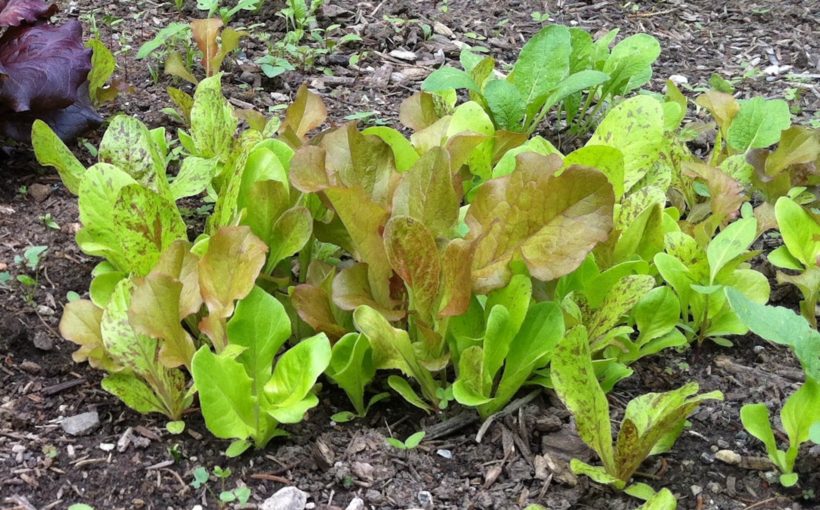
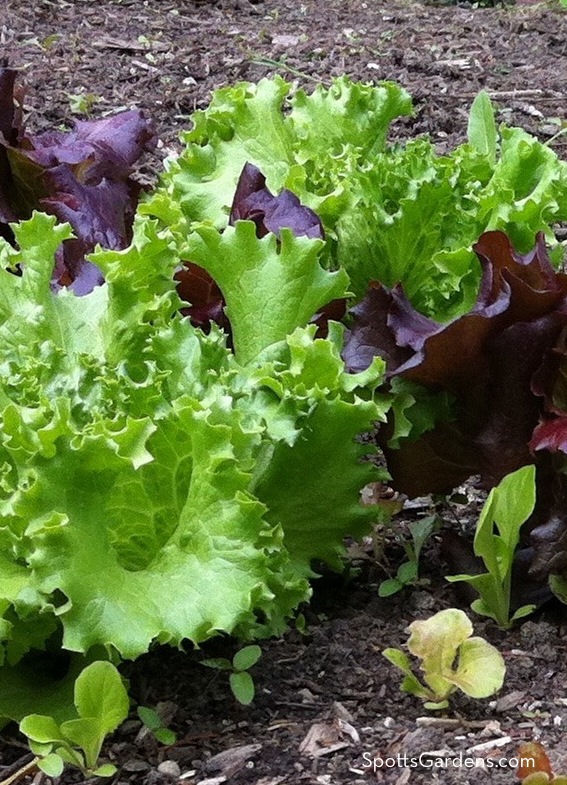
- A lettuce mix like this one from Renee’s Garden, or assemble your own selections from a combination of green, red, and oak-leaf lettuces. Look for looseleaf or cut-and-come again lettuce. You can harvest the leaves on these by cutting the plant down to a couple of inches above the soil line and the leaves will grow back.
- A bitter green like endive or arugula. You can harvest these with the same cut-and-come-again technique you use on your lettuce.
- Radish, like the Easter Egg II. Radishes grow to maturity in as little as 20 days. Harvest when small for the mildest taste.
- A great beet, like the Early Blood Turnip Beet. You can harvest the greens from beets for your salad, eat the garden thinnings, and pickle the beet roots to add some zip to your salad.
- A pea that can go straight from the vine to the bowl, like a snow pea or a snap pea. Lash together some long sticks to create an easy pyramid to grow your peas on, then use it as a vertical accent in your salad garden. Or grow a dwarf variety that doesn’t need a stake or trellis.
3. Rake out your garden soil.
The soil should be smooth and fine before you try to plant.
4. Plant each crop.
Set the seeds at the depth recommend on the package. For tiny seeds like lettuce and radish, just sprinkle fine soil over the seeds. Pat soil down firmly; good contact between soil and seed is necessary for germination.
5. Keep the soil moist.
You’ll need to keep the soil moist until your seeds germinate (until you see green growth). Use a watering can with a rose (the cap with tiny holes in it) to keep the soil moist without washing seeds and soil away.
6. Thin plants as necessary.
Once your seedlings have a couple of leaves, thin them out to the spacing recommended on the packet. That means you’ll need to remove some plants to leave the others enough room to mature. These thinnings can go into the salad bowl.
7. Sow successive crops.
To keep yourself in fresh salads, so a new, small crop of each of your vegetables each two to three weeks until the weather turns hot.
8. Water regularly.
Your veggies need 1″ of water a week, so plan to water twice a week if you don’t get rain. If you’re growing in containers, you’ll need to water whenever your plants look wilted, which can be as often as every day.
9. Harvest early and often.
Consult your seed packets to get an idea of when to harvest (check the “days to harvest”). Harvest greens by cutting leaves with a pair of scissors. Once peas are ready, harvest every day to keep the plants producing.
10. Enjoy your salad greens in April and May.
Greens bolt (go to seed and turn bitter) when the weather turns hot. You can replant in late July or August to harvest these same crops in fall (pass on the peas, though; they don’t do well in fall).