
After a winter of slush, mud, and gray skies, the bright pop of color from spring-flowering bulbs is just what we need. But a flowering spring starts with planting bulbs in fall. And when you plant as many bulbs as we do, it helps to have some tricks to make it easier!
Planting time for spring-blooming bulbs is from the first frost in mid-October through about mid-December. But planting on a pleasant fall day is much more comfortable than a damp day in December!
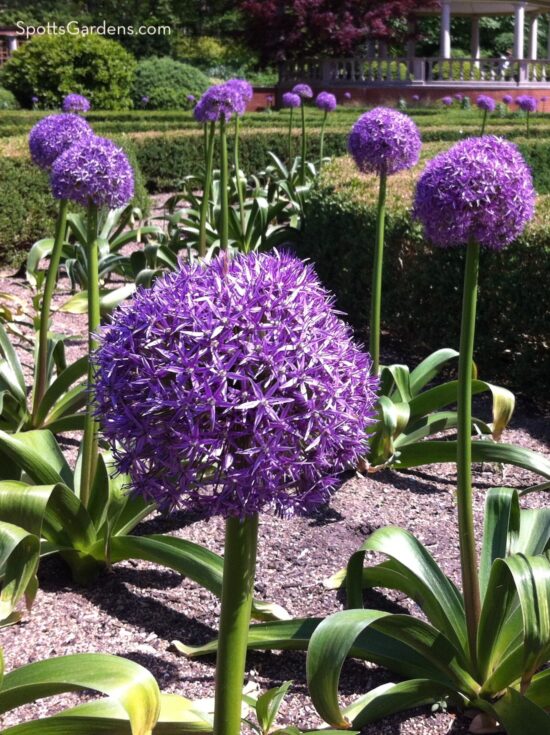
For a tour through some of our favorite species, check out our blogs Bulbs for Every Garden and Minor Bulbs for Spring Blooms. Then ready on for our planting tips.
Our Favorite Spots for Bulbs
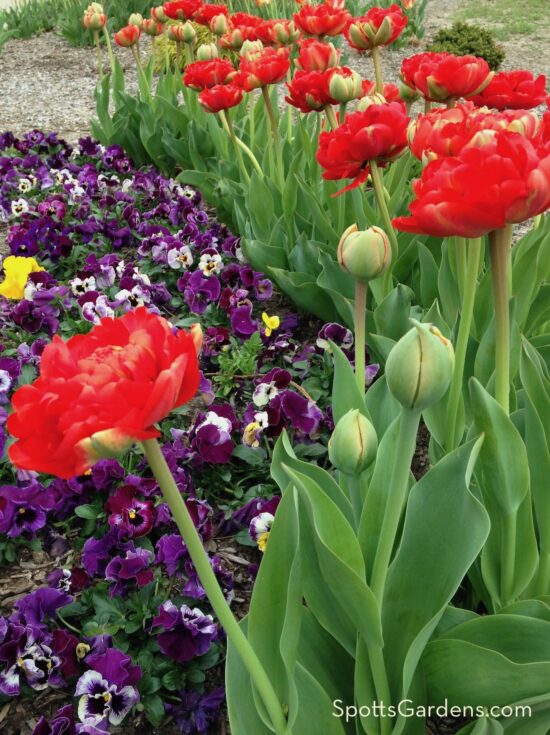
- In flower borders, perfect for statuesque tulips and hyacinths.
- Under the trees, a great place for daffodils, snowdrops, crocus, and grape hyacinth.
- Along paths, especially for the earliest bloomers like winter aconite, snowdrops, and crocus.
- In the lawn, like the Dutch do! For these stinze plantings, choose early bloomers like snowdrops, crocus, species tulips, and anemone, and plan to hold off mowing the lawn until May or so.
- In a special cutting garden, just for flower arrangements. At the end of the blooming season, we plant over the bulbs with annuals to cut for the summer.
Laying Out Bulbs in the Garden
The trick to making bulbs look great is to plant them lavishly. Individual bulbs, especially planted in a straight line, look underwhelming. Instead, mass them in groups! The smaller the bulb, the more you should plant together.
If you want a formal look, use lots of the same bulb planted in a geometric form, like a square or diamond. You can even use a wooden template with holes cut out; lay it over the soil and dig directly into the holes.
But for most gardens, we prefer a more informal look. Take all your bulbs of one type (like three different daffodil varieties, for example), and mix them in a bag. Then take handfuls of bulbs and scatter them over the ground. Plant them where they land. If you’re planting several different kinds of bulbs in one space, make a separate scattering pass for each type. Plant everything after you’ve distributed all the bulbs.
Planting Bulbs Individually
Plant bulbs at a depth of about two or three times their diameter. For example, a tulip bulb that’s 2″ across should be planted 4″ to 6″ deep. That means that large bulbs like daffodils and tulips are planted deeper than small ones like crocus and snowdrops.
You can plant bulbs individually, and you’ll need to if planting in a formal pattern or in a lawn. In well prepared soil, we plant individual bulbs using our soil knives. If you need to plant a large number of individual bulbs in less-hospitable soil, a bulb auger that attaches to a drill, like this one, will save you some muscle aches.
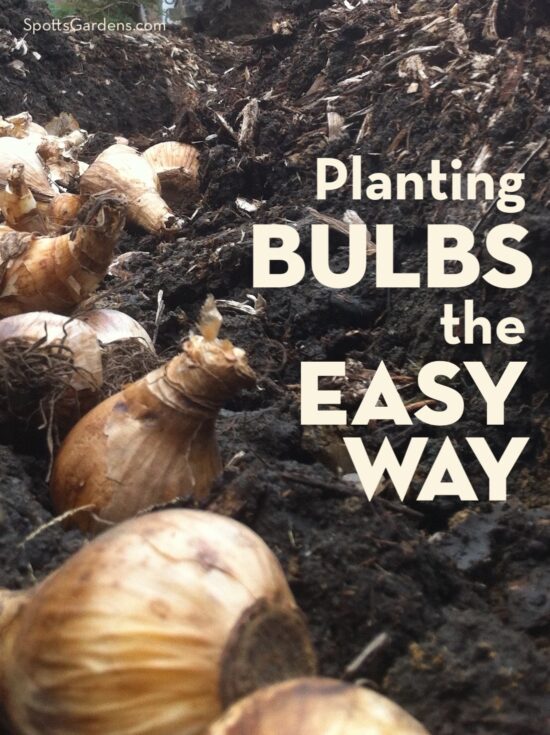
Planting Bulbs with the Trench Method
But the easiest and fastest way to plant bulbs is with the trench method! We call this the “trench method,” but you can use the same strategy with any shape of hole. It works equally well whether you’re planting only one kind of bulb or if you want multiple species for a very long bloom period.
- Dig a trench where you want to plant bulbs. Make it at least three times deeper than your largest bulbs and fairly wide.
- We like to curve trenches around existing plants for a more natural look.
- In an area with a lot of tree roots, we dig multiple wide holes instead of a continuous trench.
- Toss in some bulb food or bonemeal (optional).
- Place the bulbs along the bottom with the pointy end up. If you’re not sure which end is up, plant the bulb on its side. Mother Nature will figure it out.
- For the most natural look, make a clump of bulbs that trails off into individual bulbs.
- If you’re planting bulbs you want to increase in number and naturalize, pay attention to recommended spacing. Planting too close together means the bulbs will run out of nutrients and require dividing and replanting sooner. But for short-lived species like tulips, you can get away with cramming those bulbs close to each other.
- Back fill the trench.
- Water the trench. You’re done!
Packing the Bed with Waves of Bloom
You can maximize bloom by “packing” your bulb bed, or layering the bulbs.
- Lay larger bulbs (tulips, for example) at the bottom of your trench or planting hole.
- Add enough soil to completely cover those bulbs.
- Lay a second layer of smaller bulbs on top, like miniature daffodils or grape hyacinth.
- Cover that layer with soil.
- Add a final layer of your smallest, earliest-blooming bulbs, like snowdrops.
- Fill in the remainder of the trench.
- For extra credit, plant late-emerging perennials on top, like hosta or daylily.
The snowdrops will bloom first, starting to die back just as the miniature daffodils begin blooming. The tulips will then take over once the mini daffs start to die. And finally, the late-emerging foliage of the perennial will cover up the ripening tulip foliage.
If you’d like Spotts Garden Service to order and plant bulbs for you, contact us today!